pytorch入门笔记1
本文是一篇pytorch入门笔记,主要讲了Pytorch环境配置和基本数据类型。
pytorch的安装
更新cuda驱动
到N卡驱动程序官网下载驱动更新程序
可选择自动下载或者手动下载

以自动更新程序为例,在驱动程序页面完成更新即可

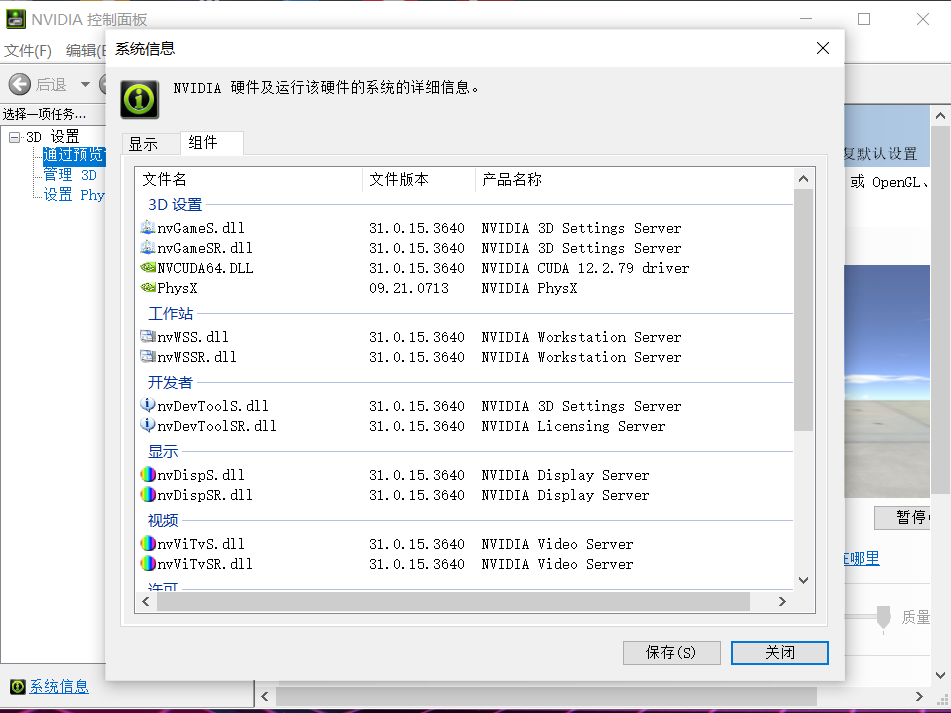
更新完成后,查看N卡设置


发现CUDA版本已经更新到12.2.19
下载pytorch
在安装了conda的情况下,在命令行输入(windows下powershell需要开管理员权限)
1 | conda install pytorch torchvision torchaudio pytorch-cuda=11.8 -c pytorch -c nvidia |
在ipython中验证pytorch是否正确安装
1 | Python 3.10.9 | packaged by Anaconda, Inc. | (main, Mar 1 2023, 18:18:15) [MSC v.1916 64 bit (AMD64)] on win32 |
为conda环境配置pytorch
1 | conda create -n MyEnv pytorch |

使用jupyter notebook进行验证。
pytorch的基本使用
详情请见pytorch官方文档
张量(Tensors)
pytorch一大作用是替换numpy,使用张量(tensors)替代numpy的多维数组(ndarrays),前者的优势是可以部署到GPU上来加速向量运算。
必须使用的库是torch
1 | import torch |
定义张量
用法和numpy.rand,empty,zeros类似
1 | torch.rand() |
可以将python list,numpy ndarray转为tensor
1 | torch.tensor([[1., -1.], [1., -1.]]) |
利用原有张量形状创建张量
1 | torch.randn_like(old_tensor,dtype=...) |
张量运算
1 | import torch |
tensor([[1, 2],
[3, 4]]) tensor([[ 3, 5],
[ 9, 11]])
张量运算
加法
1 | # 加法 |
user operator +
tensor([[ 4, 7],
[12, 15]])
user add(tensor1,tensor2,[out = tensor3])
tensor([[ 4, 7],
[12, 15]])
output C
tensor([[ 4, 7],
[12, 15]])
A.add(B)
tensor([[ 4, 7],
[12, 15]])
oprand after add
tensor([[1, 2],
[3, 4]]) tensor([[ 3, 5],
[ 9, 11]])
cuda张量
tensor可以通过.to方法部署到不同的计算设备上
1 | if torch.cuda.is_available(): |
梯度(grad)
梯度的概念是机器学习中的重中之重。
在pytorch中,pytorch中的autograd库提供了对tensor所有运算自动跟踪计算梯度的功能。
1 | import torch |
运行结果:

使用backward方法使用反向传播计算A张量的梯度
1 | out = C.mean() |
